I have been making PCBs for homebrew projects for a while now and the old process I used is documented here. You would notice that the PCBs did not come out very well. Normal A4 sheets do not transfer the toner completely and Hydrochloric acid/Hydrogen Peroxide is so strong that it would eat up the toner along with copper leaving cuts in the tracks or at times dotted copper surface. The result are not nice and I wanted to do something better.
I recently wanted to make a PCB with a MSOP-10 SMD IC. The PCB layout was just around 1 Sq. Inch in size. With SMD components, I wanted to be extra careful with the etching process. I have been reading and hearing good results of toner transfer using glossy and thin magazine paper (like Readers Digest or India Today). Also using traditional Ferric Chloride etching method, though slow, seems to give far better results.
The process I followed is the most simple and traditional Toner Transfer Method and here is how I did it:
- Print the PCB Artwork on a Thin and Glossy magazine paper. I used a Marathi weekly called Saptahik Sakal. Any paper from magazines like Readers Digest or India Today will work.
- Cut the PCB to match the size of artwork. (Also cut the artwork paper to artwork size, do not leave extra paper around.)
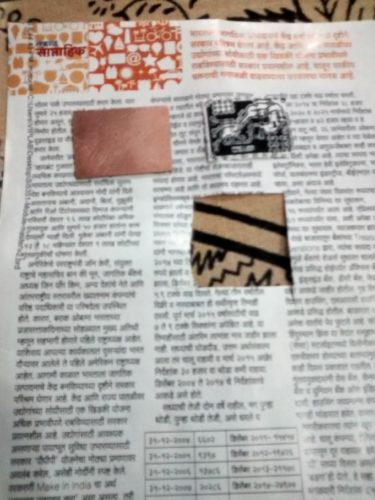
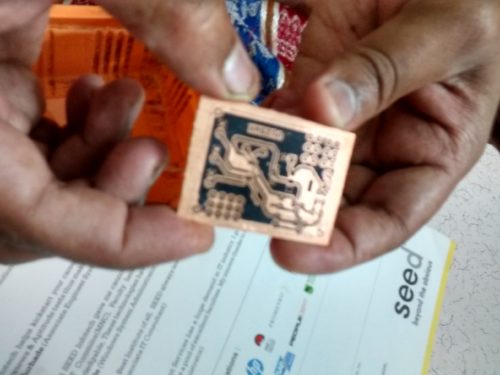
Print artwork on thin magazine paper. Cut PCB and artwork to exact size. - Clean the PCB with Scotch-Brite or steel wool.
- Place artwork on PCB facing the copper side.
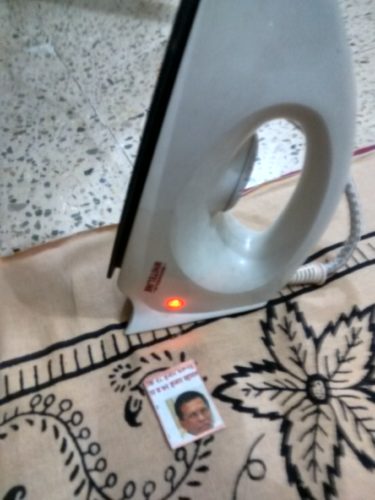
- Iron it for around 3-4 minutes with highest temperature setting. Press the paper well on the PCB with hot iron.
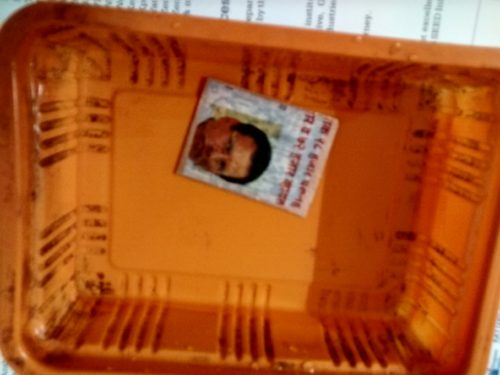
- let the PCB cool by itself. Then put it in water and leave it for around 10-15 minutes to soak.
- Peel off the paper slowly with hands and remove any stuck paper bits using soft brush.
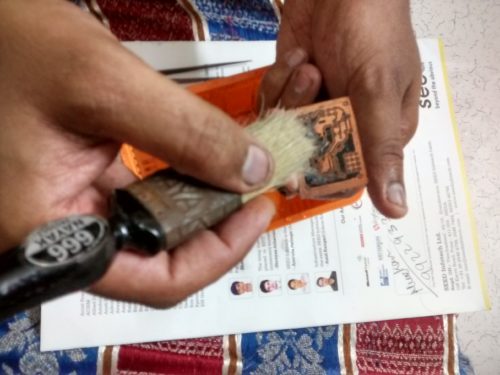
Peel off the Paper from PCB smoothly. Toner should be stuck to copper. - Touch up on any cut traces or torn off toner with a permanent marker.
- Now pour a table spoon full of Ferric Chloride in a plastic tray and add water enough to soak the PCB for etching.
- Keep the tray with etchant and PCB shaking to clear off the copper particles coming off of the PCB. Keep shaking the tray till all the copper is etched off.
- Etch it till all the unwanted copper is cleared off.
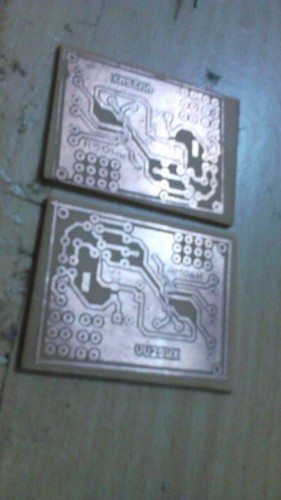
- Rinse the PCB with clean water and remove the toner with Thinner/Acetone or clean using Scotch-Brite/Steel wool. Your PCB is now ready for drilling.
Do let me know if you have any issues or if you liked this article. Leave your feedback and suggestions in the comments section below.
Permalink
I use successfully hydrochloric acid and hydrogen peroxide. The trick is to dilute them with enough water to keep the process working as fast as possible, but without destroying the protective layer. Try to dilute the mixture of HCl + H2O2 with same amount of water. If still too strong, add more water, if too slow, add some more H202.
Nick
Permalink
Thanks Nick for the suggestion. Let me try this on my next PCB etch and I’ll tell you how it goes !
Permalink
well i used the same ferric cloride etchent. toner transfer I
have used glossy paper and cut the pcb to size. the toner
transfer was done with a laminating machine for uniform
roll and heat transfer.the heating element was suitably
modified to handle the pcb. max heat, 4 times forward
and 4 times in reverse. but nowadays, i take a printout
on tracing paper, give it to a screen printer and he prints
it on copper plate, as the paint is transferred on to copper
laminate, it can be directlly etched. the toner earlier was
not cleaned by acetone, it forms protective layer to tracks.
I had also used a chemical silver plating for the cleaned
pcbs and it was good.
Permalink
I personally ended up with better PCBs if the the copper class was ironed (pure heated) before I set down the artwork.
From experience I found that this improves the transfer and speeds it up
I once made a H- bridge motor driver with MOSFETs, the artwork was quite large. I set it down and started ironing only to realize I hadn’t pre heated it this compelled me to iron it longer and eneded up bubbling the PCB!! Not sure with FR-4 but FR-2 being the material it is…..it will bubble up between the copper and the resin board….so I always make sure to pre heat it. Cheers!
Permalink
*copper clad!! Pardon my autocorrect in the last comment….hahaha…
Permalink
Thanks Surya for the tip. Ill definitely try to pre-heat my board next time!
Permalink
Pls don’t mind the typos!!! Dumb autocorrect
Permalink
Please, suggest any protective coating used in commercial PCB (looks like blue tint) could be applied for home made PCBs.
Permalink
Sorry, I haven’t used anything beyond varnish (also called resin for wood I think.) but now there are many sparys available for such PCB coatings online.